

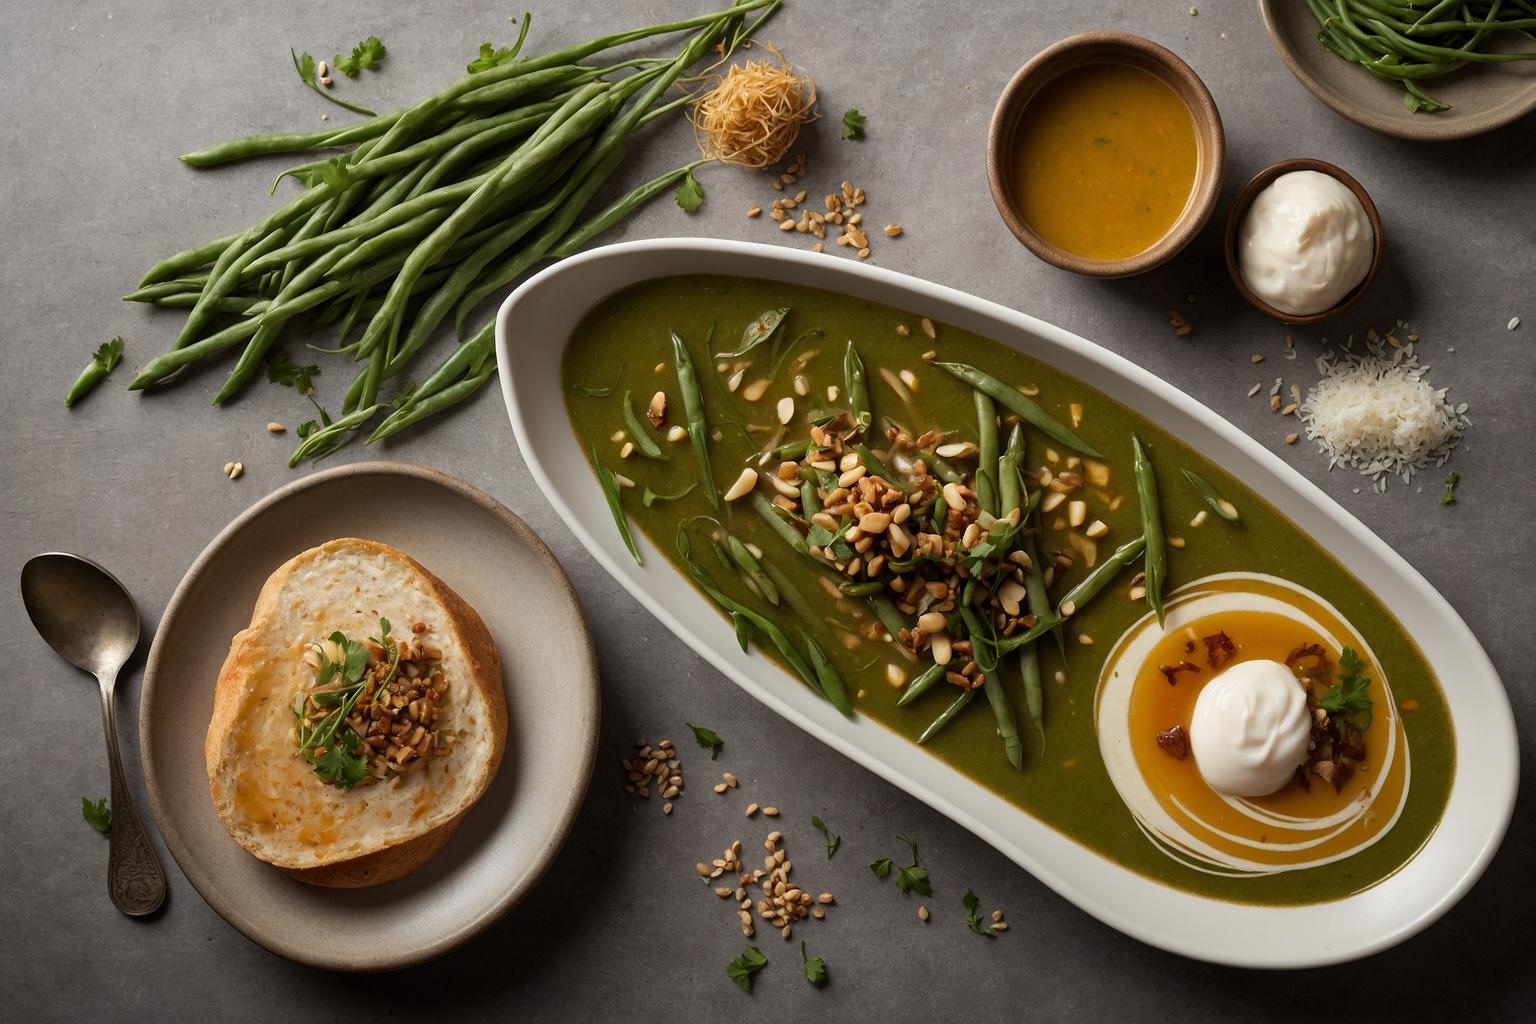
Homemade Honey Brown Butter Garlic Green Beans — small-batch makes tender-crisp, glossy green beans for two in 15 minutes. Easy, flavorful, and worth saving.
Homemade Honey Brown Butter Garlic Green Beans — small-batch
Meet your new go-to 15-minute side for two. Homemade Honey Brown Butter Garlic Green Beans — small-batch brings tender-crisp beans, a glossy honey-kissed glaze, and deep, nutty brown-butter flavor to the weeknight table with almost no effort. If you love a fast skillet method with big pay-off, this little batch is just right—no leftovers, no waste, and a restaurant-level finish you can pull off in minutes.
The technique is simple: a quick blanch for vibrant color and the ideal bite, then a swirl of brown butter, honey, and garlic to coat every bean. A squeeze of lemon wakes it all up. Toasted almonds or a sprinkle of Parmesan are optional, but they add crunch and savory depth. Keep this one in your pocket for date night, solo dinners, or small households that still want food that feels special.

New to brown butter? You’re about to fall hard for its nutty aroma and rich taste. It makes ordinary green beans taste like they came from a bistro—without complicated steps. For more fast, rewarding sides, browse Vegetable Sides and explore Small-Batch Cooking. If you’re planning a main course, these beans pair beautifully with recipes from Easy Weeknight Dinners.
Why You’ll Love It
- Big flavor, tiny effort: Brown butter and garlic add instant depth while honey makes a glossy, balanced glaze.
- Perfect for two: This small-batch recipe avoids waste and scales up effortlessly for guests.
- Fast: 15 minutes, start to finish, with pantry staples.
- Flexible: Add nuts, Parmesan, or lemon zest—or keep it minimal and clean.
- Restaurant finish at home: The brown-butter technique makes simple vegetables feel special.
Ingredients
- 8 oz fresh green beans, trimmed
- 1 1/2 tbsp unsalted butter
- 1 tsp honey
- 1 tsp extra-virgin olive oil (optional, for a bit more sautéing fat)
- 1–2 cloves garlic, thinly sliced
- 1 tsp fresh lemon juice (plus more to taste)
- 1/4 tsp fine sea salt, or to taste
- 1/8 tsp freshly ground black pepper
- Pinch red pepper flakes (optional)
- 1 tbsp sliced almonds, toasted (optional garnish)
- 1 tbsp finely grated Parmesan (optional garnish)
- Ice and water for blanching
Substitutions and notes:
- No honey? Use maple syrup for a similar sheen and gentle sweetness.
- Dairy-free? Use a quality plant-based butter and watch closely for browning; many vegan butters brown well.
- No almonds? Try toasted hazelnuts, pecans, or pine nuts—or skip for a nut-free version.
- Lemon options: Swap in a splash of apple cider vinegar or white wine vinegar if you’re out of citrus.
- Frozen green beans work in a pinch. Skip blanching; pat dry and sauté straight from thawed to avoid steam.
Step-by-Step Instructions
- Prep the beans: Rinse, dry, and trim the stem ends. If beans are very long, cut them in half for easier eating.
- Blanch: Bring a medium pot of salted water to a boil. Cook beans 2–3 minutes, until bright green and crisp-tender. Drain and transfer to an ice bath to stop the cooking. Drain again and pat dry very well.
- Brown the butter: In a 10-inch skillet over medium heat, melt the butter. Cook, swirling, until it foams and the milk solids turn toasty brown and smell nutty, about 2–3 minutes. Lower the heat to medium-low and stir in the honey to dissolve. If you like, add the olive oil for a touch more sautéing fat.
- Bloom the garlic: Add sliced garlic. Cook 20–30 seconds, just until fragrant and lightly golden at the edges. Don’t let it burn.
- Glaze the beans: Add the dried beans to the skillet. Toss to coat in the honey brown butter. Cook 1–2 minutes, stirring, until glossy and heated through.
- Season and finish: Off the heat, add lemon juice, salt, pepper, and red pepper flakes. Toss, taste, and adjust seasoning or lemon.
- Serve: Transfer to a warm plate. Top with toasted almonds and Parmesan if using. Serve immediately.
Expert Tips
- Dry the beans after blanching. Moisture prevents browning and dilutes the glaze. Pat them dry with a clean towel.
- Watch the butter closely. Brown butter turns from perfect to burnt fast. Swirl, sniff for nuttiness, and pull it sooner than you think if your pan runs hot.
- Slice garlic thinly. Thin slices perfume the butter and are less likely to scorch than minced garlic.
- Balance the glaze. Honey adds sheen and mild sweetness. Lemon juice and salt bring it into balance—taste and tweak before serving.
- Work in batches if scaling. Overcrowding cools the pan and leads to soggy beans. Double the recipe with a larger skillet or two batches.
- Make it ahead (partially). Blanch and chill the beans up to 24 hours ahead. Brown the butter and finish just before serving.
Storage
These green beans are best hot from the pan, but leftovers still shine.
- Fridge: Store in an airtight container for 3–4 days. Reheat gently in a skillet over low heat with a splash of water or a dot of butter to re-gloss.
- Freezer: Not recommended. The texture softens and the glaze can separate.
Variations
- Vegan: Use plant-based butter that browns well and swap honey for maple syrup or agave.
- Dairy-Free: Same as vegan—plant-based butter. Or use olive oil for a lighter garlic-lemon glaze (no browning effect, but still tasty).
- Gluten-Free: This recipe is naturally gluten-free. Confirm your butter and add-ins are certified if needed.
- Refined-Sugar-Free: Use pure maple syrup instead of honey if preferred.
- Spicy: Add a pinch more red pepper flakes or a dash of hot honey.
- Herby: Finish with chopped parsley, chives, or tarragon. Lemon zest is lovely, too.
- Umami Boost: Splash in a few drops of soy sauce or tamari with the lemon for depth (reduce added salt).
- Nutty Crunch: Toast the almonds in the same skillet first, then remove and add back as garnish.
FAQ
How do I know when the butter is properly browned?
Watch for a toasty, hazelnut aroma and speckled brown bits in the pan. The color shifts from yellow to golden to amber. As soon as it’s nutty and amber, lower the heat and proceed so it doesn’t burn.
Can I make Homemade Honey Brown Butter Garlic Green Beans — small-batch without blanching?
Yes. Sauté the trimmed raw beans in a teaspoon of oil with a pinch of salt until crisp-tender, 6–8 minutes. Then brown the butter separately and proceed. Blanching sets color and shortens skillet time, but it’s optional.
What if my garlic starts to burn?
Take the pan off heat immediately. Add the beans to cool things down and toss. Slightly toasted is fine; bitter-brown is not. Next time, add garlic after browning the butter and keep heat medium-low.
Can I use frozen green beans?
Yes. Thaw and pat very dry. Skip the blanch; sauté to drive off moisture, then glaze in brown butter and honey.
How can I scale this for a crowd?
Double or triple the ingredients, using a larger skillet or cooking in batches. Combine everything at the end to coat evenly.
What mains do these pair with?
Anything roasted or pan-seared: chicken, salmon, pork chops, or a hearty grain bowl. For inspiration, peek at Easy Weeknight Dinners.
Call to Action
Did you try this recipe? Leave a comment and a star rating to share how it went, save it to your favorite board, and send it to a friend who loves a quick, elegant side. Your feedback helps others cook with confidence!
Further reading on technique: Learn more about browning butter and flavor development from Serious Eats and garlic cooking tips on Food Network.


