

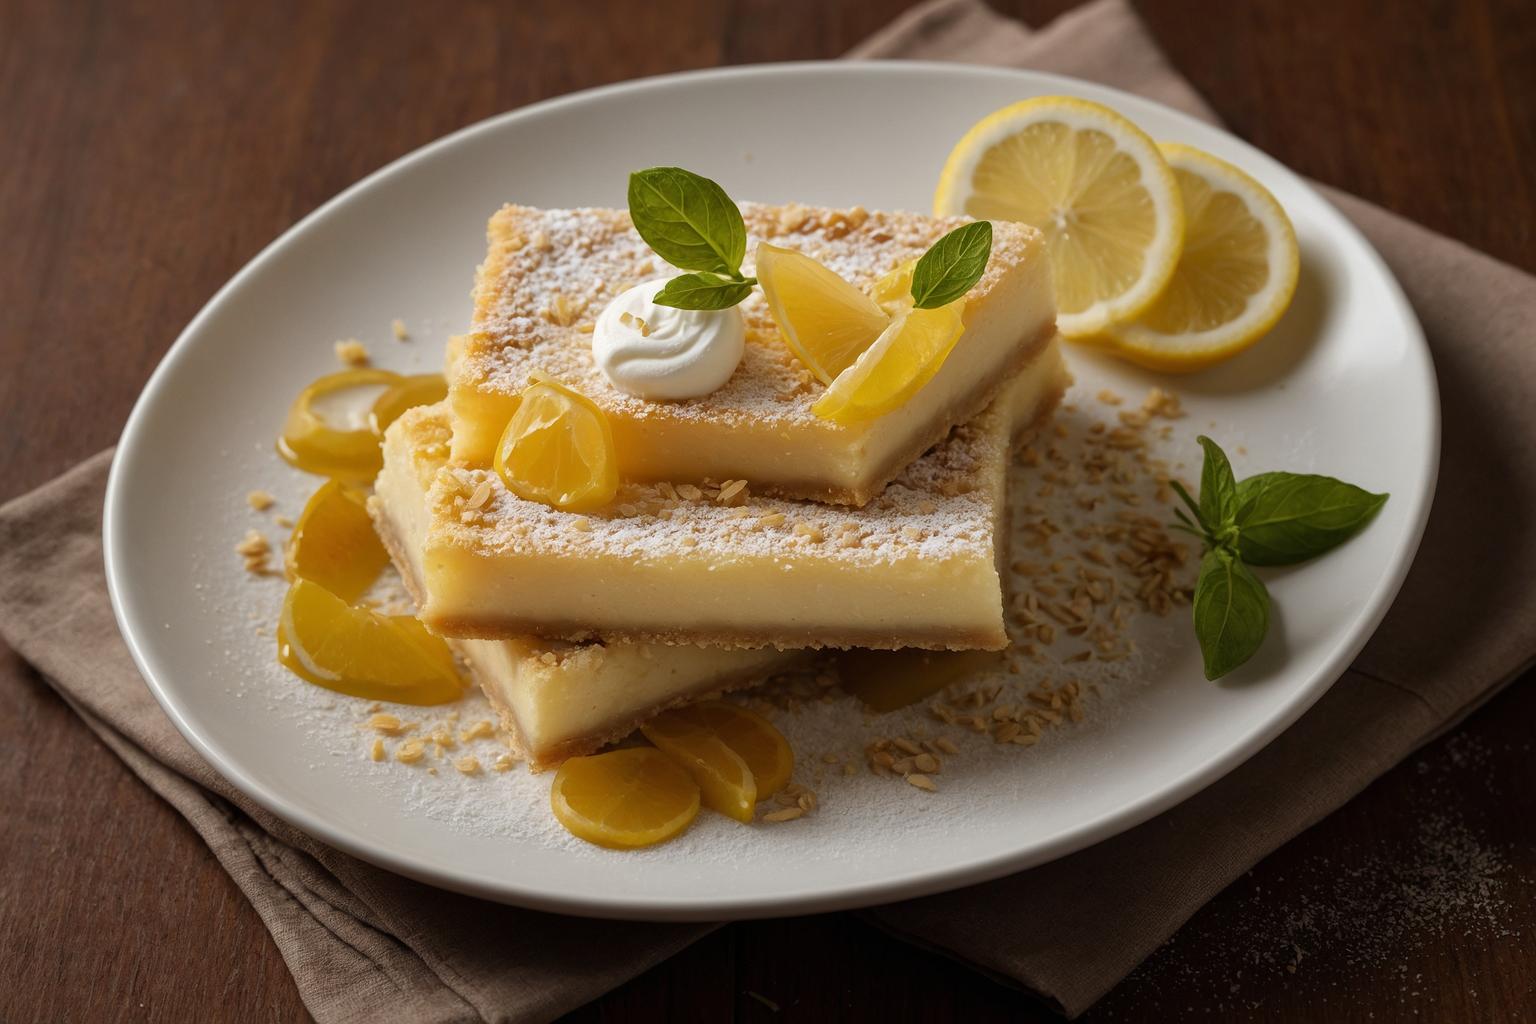
Vanilla Bean Lemon Bars with lemon zest pair bright citrus with real vanilla and a buttery crust. Bake ahead, slice clean, and savor a classic dessert tonight.
Meet your new bake-ahead favorite. These Vanilla Bean Lemon Bars with lemon zest combine bright citrus with the soft warmth of real vanilla. The result is a classic treat with a modern twist. You get a crisp, buttery shortbread base and a silky, tangy custard on top. Each bar is flecked with vanilla bean and fresh zest for extra aroma and texture. They slice clean, pack well, and taste even better the next day.

If you love timeless bakes, this pan has your name on it. The method is simple and repeatable. The flavor is fresh and balanced. Serve these bars for brunch, bake sales, or weeknight dessert. They travel well and hold up on a buffet. For more citrus inspiration, see More Lemon Desserts and our quick guide on How to Zest a Lemon. If you are building a dessert menu, don’t miss our Classic Desserts collection and Best Baking Tools checklist.
Why You’ll Love It
- Bright yet balanced: Lemon sings, vanilla soothes. The two flavors lift each other without one stealing the show.
- Tender custard, crisp crust: A brief bake on the base keeps it snappy under a silky filling.
- Reliable method: Simple steps, no mixer needed. Easy to scale and easy to slice.
- Make-ahead friendly: The flavor blooms after a chill. Perfect for parties and gifting.
- Elegant finish: Specks of vanilla bean and curls of zest make a bakery-worthy look.
Vanilla Bean Lemon Bars with lemon zest
This classic square is proof that small details matter. Rubbing zest into the sugar wakes up citrus oils. Vanilla bean paste adds the deep, aromatic notes that vanilla extract alone can’t reach.
Ingredients
Here’s everything you need for a 9×13-inch pan that yields about 16 bars. Substitutions are noted.
- 1 cup (226 g) unsalted butter, melted and slightly cooled (use plant-based butter for dairy-free)
- 1/2 cup (100 g) granulated sugar (superfine works too)
- 2 cups (240 g) all-purpose flour (swap a 1:1 gluten-free blend for a GF version)
- 1/2 teaspoon fine sea salt
- 1 teaspoon vanilla bean paste (or scrape seeds from 1/2 vanilla bean)
- 1 3/4 cups (350 g) granulated sugar
- 1 tablespoon finely grated lemon zest (from 2–3 lemons)
- 3/4 cup (180 ml) fresh lemon juice (bottled 100% lemon juice works in a pinch)
- 6 large eggs, room temperature
- 1/4 cup (32 g) all-purpose flour
- 2 tablespoons cornstarch (helps prevent a watery layer)
- 1 tablespoon vanilla bean paste (or seeds from 1 whole vanilla bean)
- 1 teaspoon pure vanilla extract
- 1/4 teaspoon fine sea salt
- Powdered sugar, for dusting
- Extra lemon zest, for garnish (optional)
Tip: Measure flour with care. Spoon and level for accuracy. For a refresher on best practices, see this guide on measuring flour from King Arthur Baking.
Step-by-Step Instructions
- Heat the oven to 350°F (175°C). Line a 9×13-inch metal baking pan with parchment. Leave a long overhang on the long sides so you can lift the bars out. Lightly grease the parchment.
- Make the crust. Whisk the flour, sugar, and salt in a bowl. Add the melted butter and vanilla bean paste. Stir with a spatula until no dry streaks remain. It will look like damp sand and clump when pressed.
- Press it in. Tip the mixture into the pan. Press into an even layer with your fingers, then smooth with the bottom of a measuring cup. Dock a few times with a fork. Chill for 10 minutes to help the crust keep its shape.
- Bake the crust for 18–20 minutes. The edges should be lightly golden and the surface should look set and matte. Keep the oven on.
- Infuse the sugar. In a large bowl, combine the sugar and lemon zest. Rub with clean fingers until the sugar turns pale yellow and very fragrant. This step releases citrus oils for better flavor.
- Make the filling. Whisk in the eggs until smooth and well combined, but don’t whip air in. Add lemon juice, vanilla bean paste, vanilla extract, and salt. Sift in the flour and cornstarch. Whisk just until smooth.
- Optional strain. For a sleek top, strain the filling through a fine-mesh sieve into a large measuring cup. If you love visible zest, leave some flecks in the mix.
- Lower the oven to 325°F (163°C). Pour the filling over the hot crust. Gently tap the pan once to pop any surface bubbles.
- Bake 20–24 minutes. The edges should be set, and the center should wobble slightly when you nudge the pan. If it puffs a lot or browns, it’s going too far.
- Cool on a rack for 1 hour. Then chill at least 2 hours. This helps the custard firm up so you get clean slices.
- Finish. Lift the slab out using the parchment. Dust with powdered sugar. Trim the edges for the sharpest look. Cut into 16 squares, wiping the knife between cuts. Add a few curls of zest on top if you like.
- Serve chilled or at cool room temperature. The flavor is even brighter the next day.
Need a quick primer on zesting? This simple guide from Food Network covers tools and technique for the best citrus aroma.
Expert Tips
- Flavor boost: Rubbing zest into sugar is a small step that makes a big difference. Don’t skip it.
- Prevent a soggy crust: Bake the base until matte, then pour the filling over it while it’s still hot. That seal keeps the bottom crisp.
- Neat slices: Chill well, then use a long, sharp knife. Dip in hot water and wipe clean between cuts.
- Set, not stiff: Pull the pan when the center has a slight jiggle. The bars will finish setting as they cool.
- Avoid bubbles: Don’t whisk in too much air. A brief strain before baking keeps the top smooth.
- Thicker bars: Use a 9×9-inch pan and add a few minutes to the bake time.
- Half batch: Bake in an 8×8-inch pan. Start checking a few minutes early since it will be thicker.
- Make ahead: Bake up to 24 hours in advance. Chill, then dust with sugar just before serving so it doesn’t dissolve.
- Zest size: Use a microplane for fine zest that blends in. For garnish, use a channel knife to make thin ribbons.
- Food safety: Keep bars chilled if your kitchen is warm. For egg safety basics, see the FDA’s tips on handling eggs here.
Storage
Refrigerator: Store cut bars in an airtight container for up to 5 days. Place parchment between layers to keep the tops neat and the crust crisp.
Freezer: Freeze cut bars in a single layer until solid, then wrap each piece and store in a freezer bag for up to 2 months. Thaw overnight in the fridge. Dust with powdered sugar after thawing.
Room temperature: For serving, bars can sit out for about 2 hours. Keep them shaded and cool.
Variations
- Gluten-free: Use a quality 1:1 gluten-free baking flour with xanthan gum. Check doneness at the earlier end and let the bars cool fully for the best texture.
- Dairy-free: Swap in plant-based butter for the crust. Everything else stays the same.
- Vegan-inspired: Lemon bars rely on eggs for silky set. For a vegan take, use a trusted lemon bar recipe that sets with cornstarch and non-dairy milk, and add 1–2 teaspoons vanilla bean paste for the same aroma.
- Refined sugar–lighter: Use fine organic cane sugar. Coconut sugar works, but it darkens the color and mutes the lemon.
- Extra lemon: Add up to 2 tablespoons zest total for a bigger citrus pop. Keep the juice at 3/4 cup for a proper set.
- Brown butter crust: Cook the butter until nutty and golden, cool slightly, then proceed. The toasty notes love the bright filling.
FAQ
Can I make Vanilla Bean Lemon Bars with lemon zest the day before?
Yes. In fact, they taste even better the next day. Chill the slab overnight, then dust and slice before serving.
How do I keep the crust crisp?
Par-bake the crust until matte, then add the filling while the base is still hot. Bake at 325°F to set the custard without overbrowning.
Can I use bottled lemon juice?
Fresh juice gives the brightest flavor. In a pinch, use a good-quality 100% bottled lemon juice and stick to the measured amount.
What if I don’t have vanilla bean paste?
Use the seeds from one vanilla bean or 2 teaspoons pure vanilla extract. Paste gives the best speckled look and deep flavor.
Why are my bars runny or weeping?
They were likely underbaked or cut too soon. Bake until just set with a slight jiggle, cool, then chill for at least 2 hours before slicing.
How do I get clean, sharp edges?
Chill the pan well. Trim the outer edges, then cut with a hot, dry knife, wiping between cuts. Dust with sugar after cutting.
Call to Action
Did you try these bars? Leave a comment with your tweaks and tips, and rate the recipe so others can find it. Save it to your dessert board, and share a photo if you bake a batch!


